Encoder Technology - SATI for use with OnAxis products
Installing an encoder on a motor can be a
quick and simple process, but improper installation might lead to eccentricity
issues. These can result in excesive motor temperature as well as vibration,
high power consumption and significantly shorten the operating life of your
motor. RLS have developed a quick and simple solution to minimise the effects
of encoder’s eccentricity following the installation of an encoder.
What is SATI?
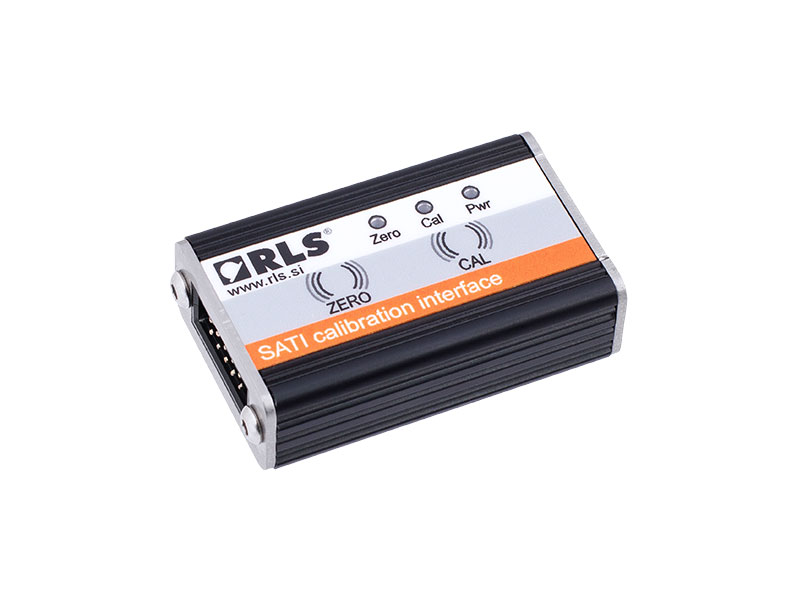
SATI stands for Stand Alone Trimming Interface. This is a stand-alone device with calibration and zeroing functions which eliminate the need for a reference encoder and works with dedicated AM4096-based encoders.
SATI calibration interface
Why SATI?
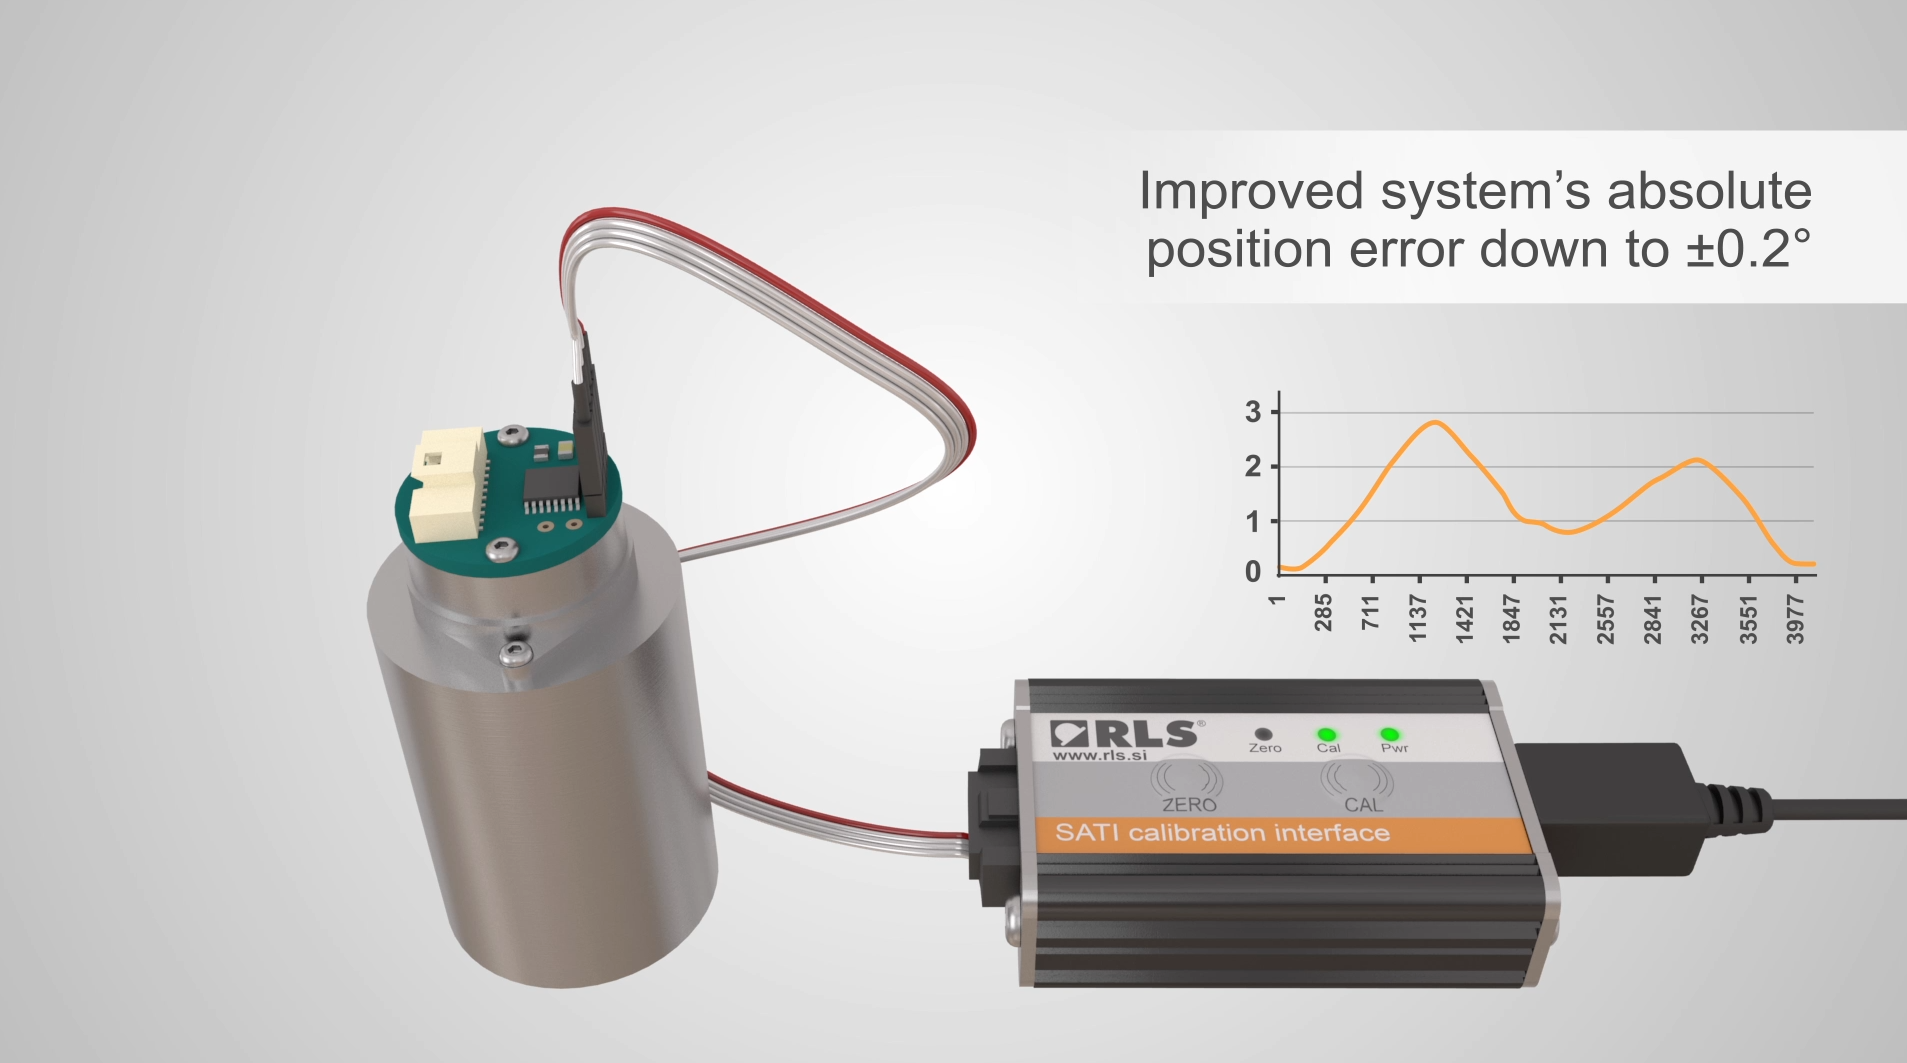
Improper encoder installation can cause the motor operating temperature to rise, it can vibrate and have a higher power consumption, leading to early motor failure. The graph shows the increased position error of an encoder with poor installation tolerances.
How to install SATI?
- Ensure the encoder current consumption is less than 60 mA and set the motor to run at a stable speed above 100 rpm.
- Connect the SATI interface to the encoder and its
power supply via USB. The Power LED will turn green.
- By pushing the CAL button, the calibration process is activated.
- The green CAL LEDsignals a successful calibration process, compensating eccentricity error. SATI can improve the system’s absolute position error down to +/-0.2°.
Zeroing function of SATI
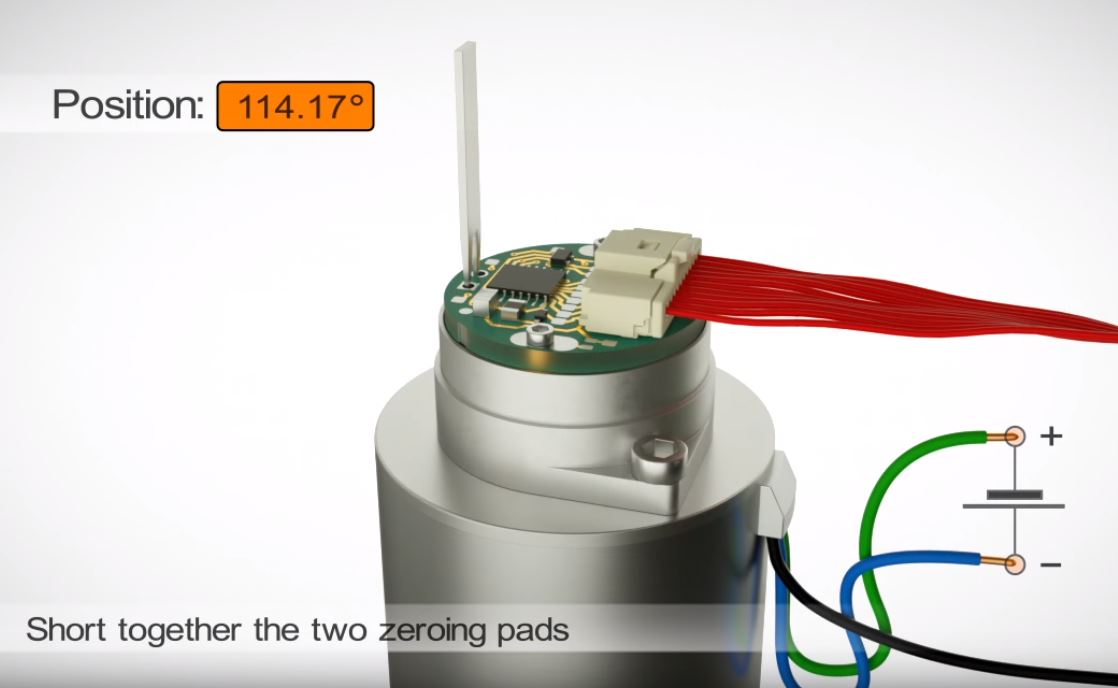
The SATI interface also has a zeroing function. This can be activated when the encoder current consumption is less than 60 mA and the motor isn’t running.
First, connect the SATI to the encoder and via USB to the power supply. Ensure the motor is not running and the rotor is aligned to the desired zero position. Next, push and hold the Zero button for 3 seconds which will activate the red Zero LED indicating the encoder zero position has been set.


